Thursday, February 26, 2026

McCall's 8561, a Barn Jacket, or is it a Shed Shacket?

Shortly after the New Year, I reached for McCall's 8561.  It has been on my to-sew list for some time and I finally realized that I had the perfect fabric in my stash: a 100% cotton khaki twill from Hobby Lobby.  I'd picked up 3 3/4 yards for a total of $11.25 during an end-of-season sale two years ago.  Since the regular price was $11.99 for this 60" wide heavy twill, it was a bargain.  

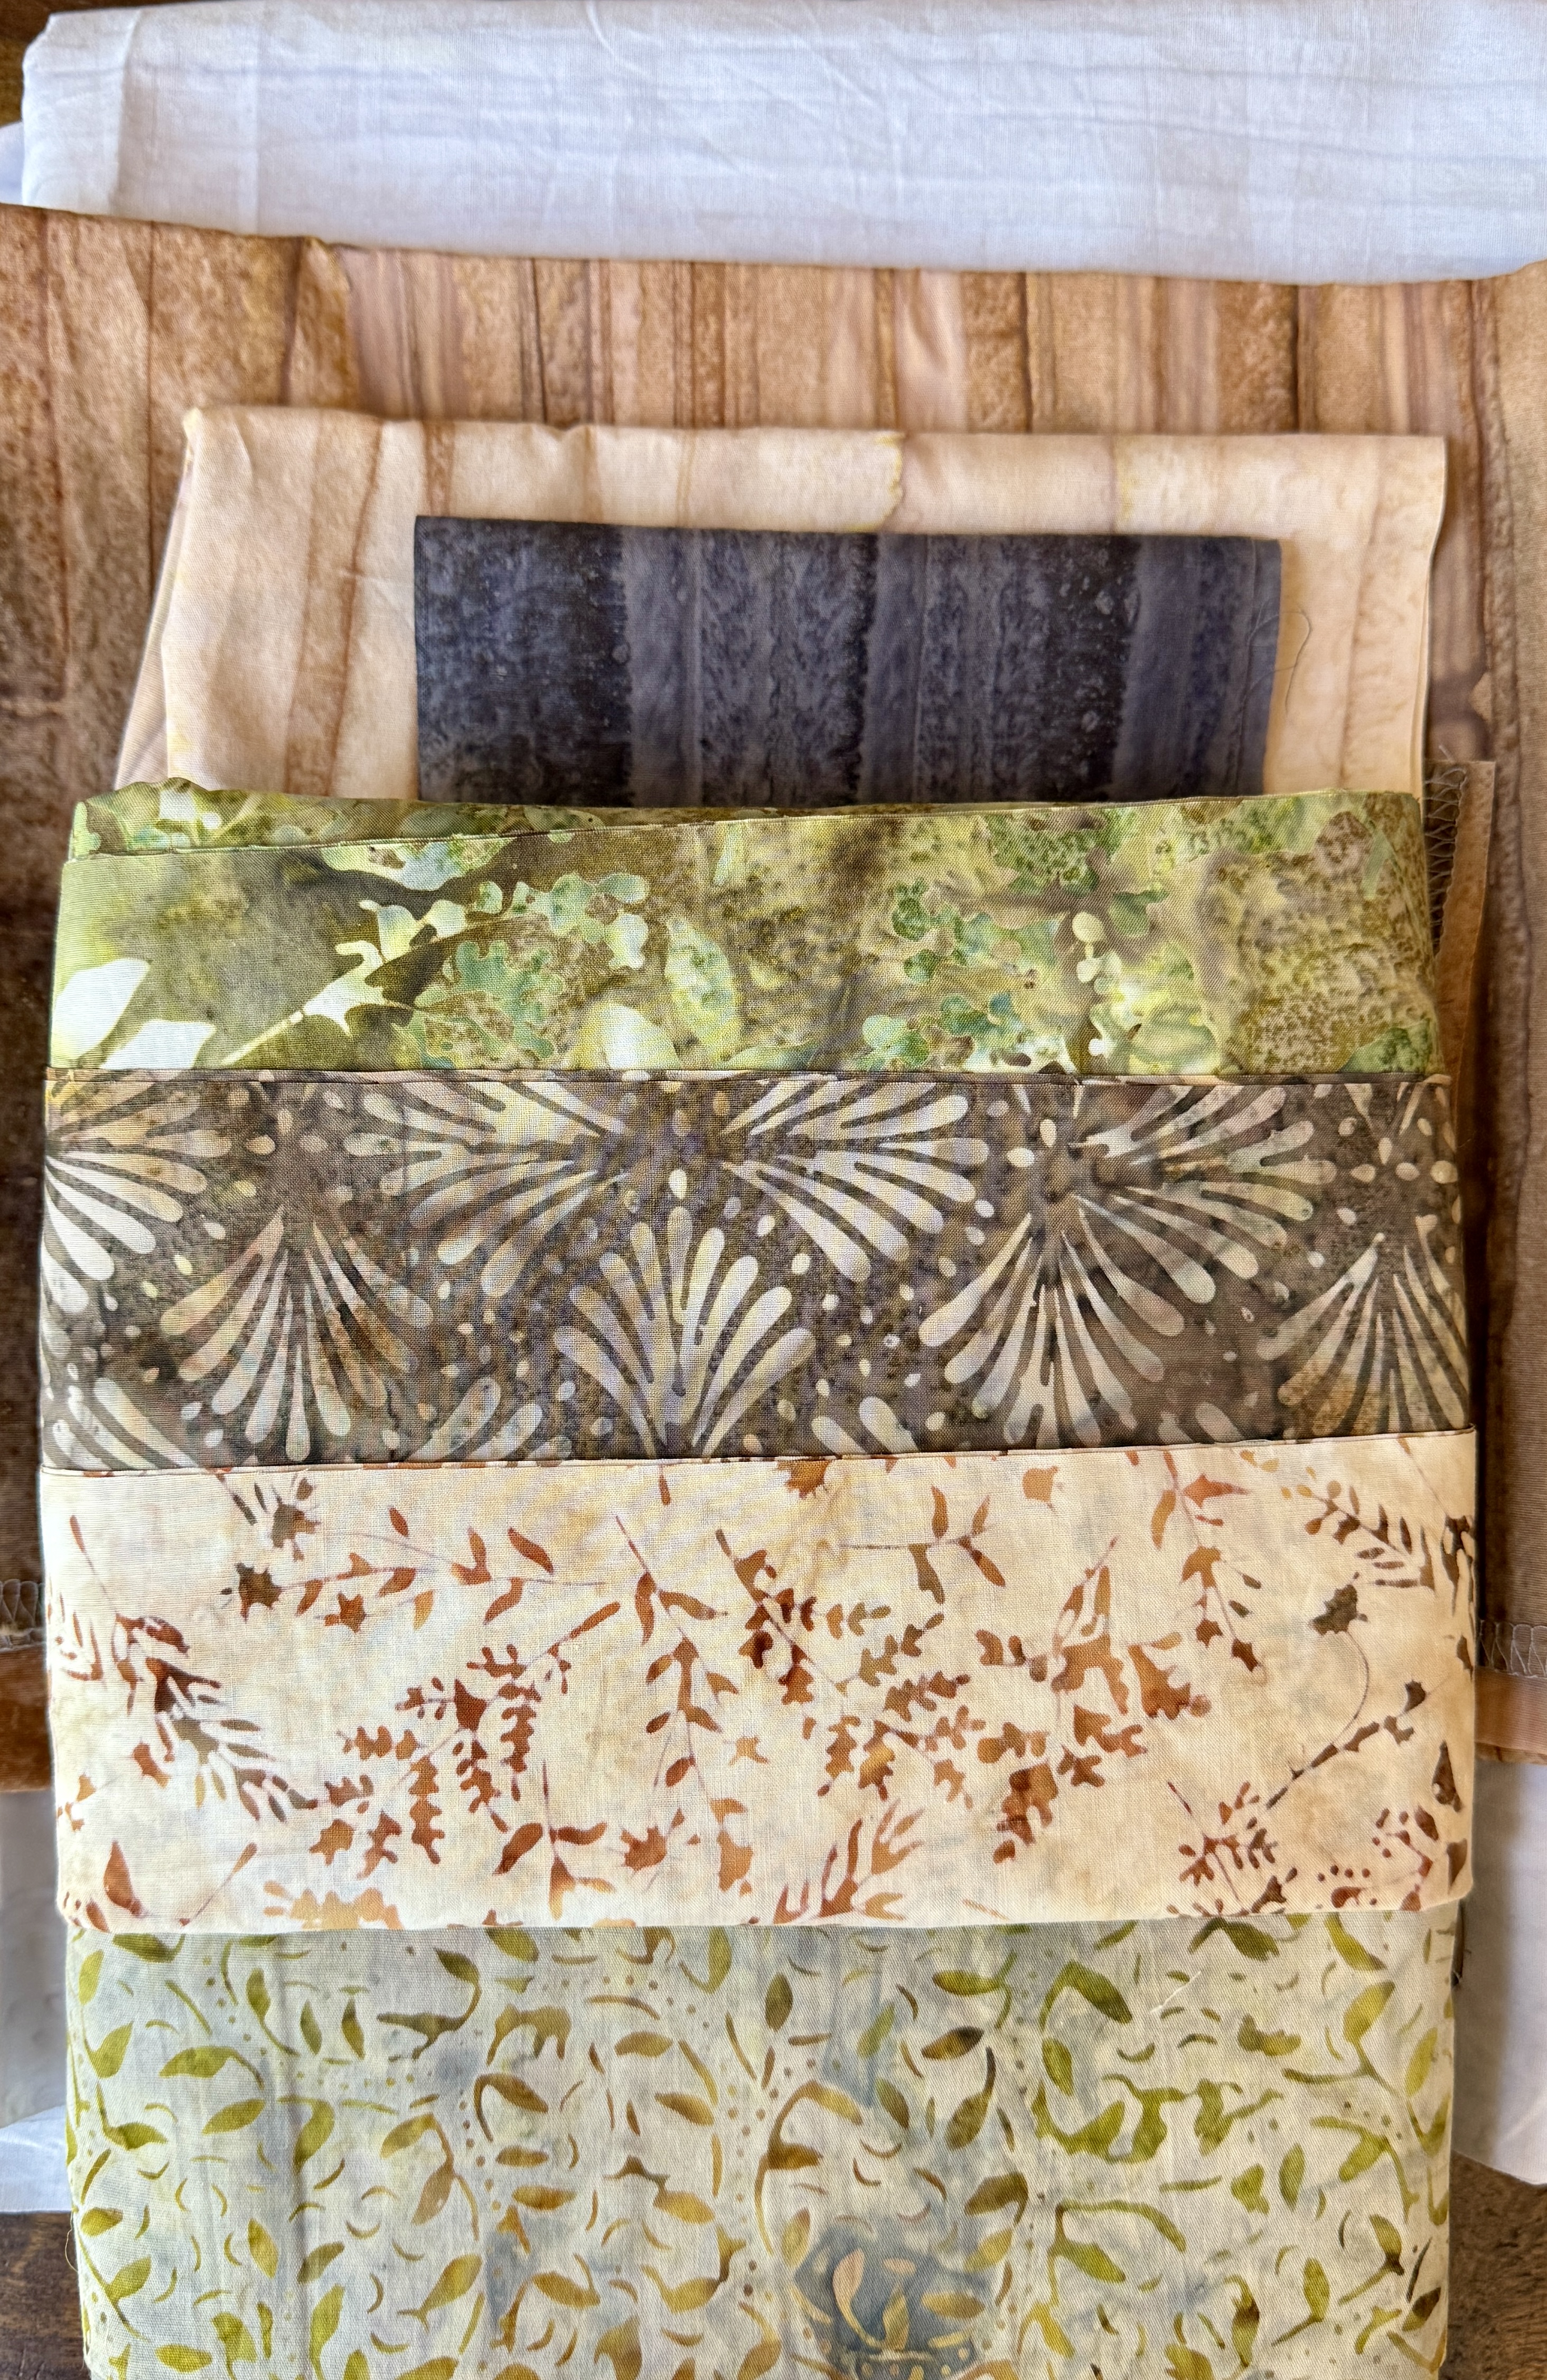
I paired the twill with 2 Plaiditudes flannel remnants from JoAnn Fabrics.  Although the remnants totaled 1.9 yards, they were only 44" wide, not wide enough since the pattern calls for 60" wide fabric.  However, for a total price of less than $6, it was worth it to make it work. 

Through some creative cutting and opting for a size 12, I managed to squeeze the lining pieces out those two remnants.  After assembling the lining at the yokes and shoulders, I pinned the sides to use the lining as a toile.  Immediately I realized that it was not as roomy as I wanted.  I decided grade to a size 14 below the armhole when cutting the twill. Since the lining was already cut to a 12, I adjusted it by sewing a minimal overcast seam.  In the end, since the flannel is prone to stretching, I actually had to sew a second seam to take it in enough to fit the assembled body.

Beyond adding warmth, the lining solved a specific design flaw I’d seen mentioned in reviews.  This pattern features a camp collar (where the collar attaches directly to the shirt without a neckband).  Typically, these use a facing that is part of the placket extension to enclose the edges. This pattern, however, uses a separate placket without an attached neck facing. Without a lining, you're almost guaranteed to have a small, fraying raw edge exposed between the collar and the placket. By adding the lining, I was able to tuck those edges away for a much cleaner, professional finish.

Once the flannel lining was assembled, I opted to topstitch it on my Janome coverstitch machine.  While the two rows of even topstitching were wonderfully effective on the flannel, replicating that performance on the twill pockets was a nightmare.  After six failed attempts and a deep dive into YouTube, I realized a looper thread had popped out of its tiny tension spring. I also learned how to turn corners with a coverstitch by keeping only one needle in the fabric. It’s not perfect, but it beats double topstitching on a standard machine.   

The coverstitch experiment ended when I tried to go through six layers of fabric at the armhole seam.  Even with a hump jumper, it was impossible.  It was back to traditional topstitching on my Janome S3 for the remainder of the jacket.

Regarding construction, I must emphasize that staystitching around the neckline is vital. By stay stitching  both the lining and body, basting them together, and clipping the curves to the staystitching, attaching the collar became much easier.  Another potential problem reported in a review was that the sleeve seam does not line up with the back yoke. This is actually incorrect; the notch for the back sleeve piece (the smaller piece) is a double notch that is not clearly marked.  Each double notch overlaps the one for the next size in a series of six, appearing as a single notch.  Once you spot that, and assemble the sleeves with the cuff split in the center, the sleeves can be attached to the body with the back sleeve seam aligned with the back yoke seam.  I attached the sleeves while the body was still flat, topstitched that seam, and followed that with sewing the sleeve seam and side seam as one.  This method makes the topstitching on the sleeve shoulder seam easier.

To finish the inside, I trimmed off 3/8" of the lining seam allowance around the sleeve plackets and folded the plackets over the lining to stitch them down.  I then constructed the collar and cuffs, attaching and topstitching them on my S3.  To ensure the lining was fully encased at the front, I based the lining to the front edges, attached the plackets to the wrong side, folded them inside out and stitched the ends closed.  I then turned them right side out, trimmed seam allowances and pinned the plackets to the fronts for topstitching,  I took a little time to slip stitch the ends of the placket down and baste the rest to make the topstitching easier. 

I tried several sizes of buttonholes to find one that fit neatly within the placket.  The middle size was the winner, not big enough to meet the placket edges but large enough for 3/4" buttons.

I have finished the cuffs with a couple of 4-hole wooden buttons from my stash.  I don't have enough for the front, so I'll be shopping for shank buttons during the next couple of weeks--all while wearing my new jacket!

 Despite the weeks of construction, this is easily one of my most successful sewing projects to date.


Wednesday, December 31, 2025

Sewing some long sleeve tops for winter

Another closet shortage inspired a sewing spree after the first snap of cold weather this fall.  This time, it was long sleeve shirts that were in short supply.  To fill the need, I found three pieces of fabric in my cabinet.  One was an ITY in grey, (57" wide, 60% cotton and 40% polyester, cold water wash, lay flat to dry).  The main piece was leftover from a dolman dress.  There was a 2 foot long strip, almost half a yard wide, double thick, so twice that in fabric.  There was a 3/4 yard whole piece attached to it.   The dolman dress was a big success, my most worn piece during this past summer.   


More on that shirt in a bit.  The next piece was  From The Confident Stitch, an Art Gallery Fabrics cotton knit with some small percentage of Lycra, (2 yards, 60" wide, $24).  

To begin with a familiar pattern, the plan was to start with the Art Gallery piece and make Simplicity 9018 again, the mock turtle neck.  Based on the previous make (thank you, old blog post for providing all the details I don't remember) this one was cut to the a medium size, grading to a large at the hips--with a special note not to cut the neckband to a smaller size again, even if it worked out as a good fit.  No worries, the correct size is now marked on the pattern in sharpie!  With the walking foot and the smallest stretch needle, this soft, stretchy fabric was easy to sew using my machine's knit (or lightening) stitch at the default length and width settings.  Grading out the sides a bit more for extra hip room and tapering to a 3/8" seam allowance added a little more room for thicker winter pants, without extra fabric that would make it difficult to tuck in. 

The print is directional with large motifs, making the design a little trouble to match at the seams.  Overall, it mattered the most at the front neckline.  That was the only place I bothered to line up the patches of flowers.  The neckline seam runs right through the pink flowers--almost invisibly! The sleeve was cut to the medium size.    The hem was turned up 2 1/4" -- I guess this top is long on me.  I hemmed it at "3" on the coverstitch throat plate, probably 3 cm--a 1 1/2" hem.  The sleeve hem came out closer to 1" because trying to sew the hem right on the edge risks missing the edge altogether. Very happy with this one.  

Now back to the bits of ITY.  Since it is leftover fabric, I decided to make a toile of Simplicity 9451, Version C.  Although my initial idea was a top with a bodice that is gathered at the sleeve seam, I settled for one that is gathered at the shoulder seam.  It was cut as a size 14, the largest size in this pattern size group.  (Note: The neck loop piece is 1" wide by 2 1/4" long.  No need to cut the pattern piece out when you can just measure it.) To make the best of a short-sighted situation, not having the larger size block, the side seam was altered to add 1/2" on each seam at the hips, tapering back to the size 14 at the side notch.  This, plus narrowing the 5/8" seam allowance as much as possible, barely allowed it to fit.  In spite of the seemingly complicated shoulder gathers, it went together really fast.  Probably too fast, with the gathered shoulder sewn to the wrong back piece.  Once that was corrected, it went fast enough to finish in 1 day.  

It is tight--the ITY is not stretchy enough.  It is wearable, and helped determine how to handle my next version of this pattern.  First, it made me realize that the other view, the one with gathers at the waist as well as at the shoulder, is actually smaller in the bust and hips than this one.  It was also apparent that I don't need the keyhole and button in the back.   The facing flips up abysmally and should probably be eliminated but I am not sure what to use in place of the facing.  In the right fabric, an unfinished edge would work.


This top looks so cute that 9451 was cut again, in a very stretchy waffle knit fabric a grey waffle knit from Fabric Mart (Cotton/ Poly/Rayon thermal knit by LA Designer 2 yards, $4/yd., Gentle Wash).   Version D was selected, making it a bit of a toile.  It was cut with an additional 1/4" more on the side seams and sewn with 3/8" seams everywhere below the armhole.  The  back seam was eliminated altogether, adding 1 1/4" at the center back.  As usual, this was overkill.  However, it worked out to a quite roomy top--my preferred fit.  


The sleeves are full and gathered at the cuff.  For some reason, either the pattern or the fabric, the sleeves are long, even after cutting off 1 1/2" at the hem.  As in the first version, the facing flips up in the back, but the softer fabric makes it easier to push the facing into place.  However, the plush fabric did not do well with my coverstitch.  Despite adjusting the tension, foot pressure, stitch length and differential, the hem is wavy.  Since the hem on the ITY is fine, I know it isn't the machine or me, just difficult fabric.    The length is a bit longer than the ITY fabric one, proof that this fabric stretches out.  The hem was turned up 1" on the ITY and 1 1/2" on the waffle knit.  My lack of confidence with the coverstitch machine makes it difficult to hem right on the edge.  As a result, the actual hems are 3/4" for the ITY and 1 1/4" for the waffle knit.


There is so much detail here because I plan to sew 9451 again, in the sleeveless version.  That is the one with the gathers at the waist, View B.  View B has the funnel neck, which would require the keyhole opening in the back.  With a back seam, it might be too small.  The knit I have planned to use is not as stretchy as the waffle knit.  The safer bet would be to do view C with no back seam and with bias tape instead of neck facings since there's bias tape on the armholes.

The sleeve length is ok, but could be shortened a bit more if I use the gathered sleeve again.  

I am still in a garment sewing frame of mind.  Quilts are sitting by, but untouched.  I have hope for good times in the New Year.  Perhaps quilting will be part of it.

Friday, December 5, 2025

Twisty Quilt

The title of this post is inspired by my use of orphan blocks in this quilt.  That nickname, "orphan" reminded me of Oliver Twist from Dicken's novel.  Additionally, the route to finishing my second quilt was quite twisty and unplanned.  This one is composed of 8 blocks made to test pattern ideas for a queen size quilt.  Can't throw them away, must use...ykwim.


The 9th block, the center one in the photo above, was my own design, made to fit in the 10" x 12" gap in the middle of the blocks.  Two of the blocks are 12" square while the other 6 are 10" squares.  That gap filler and the leftover border fabric from my first quilt cobbled the 8 blocks together.  The backing was matched to an old chair.  This small quilt will cover the worn spots.  


There's a combination of hand quilting and machine quilting, both are satisfactory.  The hand quilting is easy to do while sitting comfortably, perhaps watching a video of some sort.  It also makes a softer, more traditional quilt. The machine quilting is easy but does require sitting at the machine.  It is much less likely to come undone and more likely to stiffen the fabric.  The binding is much better, fit wise than my first quilt.  This binding is 1/4" narrower (2 1/4" wide before folding in half, as opposed to 2 1/2" for my first quilt).  After the binding was sewn on with a 1/4" seam, as needed to make the sashing 1 1/2" wide and the cornerstones 1 1/2" square, the edge of the quilt was trimmed to 3/8" edge.  In my first quilt, the binding was sewn on with a 1/4" seam that was set at the edge of the quilt top, batting and backing.  There just wasn't enough there to support the excess binding.  Experience is a good teacher.


After washing, the quilting lines are visible, even against the rather busy backing.  However, the backing is not as busy as the top.


It's interesting how these somewhat ugly blocks fit together to make a striking quilt.  Not pretty, but striking.

Saturday, August 30, 2025

Remy Raglan brings me back to garment sewing

Sew House Seven had a sale on their patterns, prompting me to purchase a couple of patterns I had been wanting, the Remy Raglan and a dress (more on that later if I get energetic).  I was energetic enough to get a toile of the raglan sewn together.  I like the pattern and I expect it will be a frequently sewn garment for me if I can find suitable fabric.  It was written for a very lightweight linen.  However, I have no linen clothes I really like except for a heavyweight linen dress.  I might be looking at cotton blends or a rayon for the good version.

The fabric for the toile is a cotton bought on impulse when I placed an order with Made with Harmony last year.  (Woven Elements Prairie Plaid Green, 2 yards, 42" wide, cold water wash, dry on low $16.)  I wanted some of the eyelet I saw on Instagram but it was sold out.  However, they had many other quite nice looking fabrics, allowing me to quickly put an order together.  That order included this length of cotton.  The 2 yards was more than I needed for the short sleeved version but it gave me plenty of room to match the plaid.  Now that I am quilting, I don't mind leftover cotton or even cotton-like fabric because I can use it in a quilt.

In lieu of a label, I added a small friendship star on the back.

I tried to follow the pattern closely but I had to deviate in some of the finishing simply because the fabric is a heavier weight than recommended for the pattern.  I cut the bias binding for the neckline from a very light poly/cotton blend remnant I found at Hobby Lobby.  I serged the seam allowances instead of sewing French seams.  Otherwise, I did follow the pattern in a size 10.  

It was a quick sew, and a satisfying result, proving that the Remy Raglan is going to be an easy, functional addition to my pattern collection.  

Sew House Seven patterns offer both a regular and a curvy fit size groups. Their notes say the curvy fit offers a fuller bust, waist, and hips (through an outward tapered side seam) with a more fitted underarm.  The photo above tempts me to try a size 14 curvy fit (the smallest in that group), even though a bust dart or a different bra would really solve that problem.  Since the curvy fit pattern is included separately in the paper pattern, a future curvy toile is a possibility.


Tuesday, August 5, 2025

Completed my first quilt

The first quilt that I have ever made is now complete. It began as a small project in April, just cutting and machine sewing half square triangles from scraps of fabric. In about a month, the plan developed to make sawtooth star blocks, as explained in my earlier posts.  

The first blocks were constructed with quilting cotton that was left after making toiles of patterns.  There's fabric that was made into an a-line skirt (quilting cotton from JoAnn Fabrics); some that was used as bias binding (purchased as a remnant from Taos Adobe Quilting ($4); some leftover fabric from three dresses from JoAnn Fabrics, and more of the same from Hobby Lobby; leftovers from toddler harem pants, a lightweight cotton from Hobby Lobby.  These scraps produced over a half dozen quilt blocks that were 16" square.  

Finishing out the blocks in the same sawtooth star pattern required more fabric.  Quilting cotton somewhat similar to the scraps was purchased at Santa Fe Quilting and Hacer.  That amounted to 1 1/2 yards for about $20.  

With the additional fabric, the number of blocks grew to 10.  Rather than throw one out, I added two "accent blocks" to make a 12 block quilt.  The star studded fabric for the two extra blocks came from Swanson thrift for $8.  

Before managing to construct twelve blocks, the plan was to enlarge the quilt to add sashing between the blocks.  To this end, a trip Taos Adobe Quilting yielded 2 1/2 yards of black and brown print intended for sashing for about $30.  Once all twelve blocks were laid out together, my fascination with the resulting patterns decided me against sashing.  In the end, some of the black fabric was used for the border.  

After considering several  fabrics, the star studded aqua fabric was used for the binding.  


Adding $50 for the backing to these purchases and $256 for batting and quilting makes a total of $360.  
 

I just finished hand sewing the binding down today.  It went into the washer and dryer immediately.  I couldn't wait to get rid of the starch I had added to make the pre-washed fabrics easier to quilt.  The starch and the dense quilting made the quilt feel very stiff.  It is softer now and will soften more with use and washing, if it gets used.  I have mixed feelings about the quilt.  It doesn't fit the decor of any bedroom.  I chose the backing to coordinate with a couch.  That's where I will put it this fall.  Maybe someone will want to wrap up in it.  In the meantime, it is hanging from the loft.

I learned a lot making this quilt, how to cut and piece fabrics into half square triangles, how to arrange those triangles and sew them into quilt blocks, how to get the points of the triangles to "kiss", and a little about how to improvise a quilt block.  I learned about the feel of quilting fabrics, the weight and degree of opaqueness or translucency, and the amount of fraying.  I thought I could use my color sense, honed from years of knitting and sewing apparel, to concoct a nice looking quilt.  I see now I have a lot more to learn about quilting.  In the end, what matters is that I achieved my original goal, to see if I would like to make a  quilted jacket.

The fabric would make a good jacket.  That's something I may work in this winter, a quilted jacket.  I have two other quilts to make, one underway and one I will put off until next summer.  With my experience in making  this quilt, I will know how to instruct the longarmer if I have it quilted.  I also have some experience in both machine and hand quilting in the quilt repair I undertook.  I think I will be better prepared to make a decent quilt that will coordinate with one or two of the bedrooms.  And, along the way, I may make that quilted jacket I have been craving for years.

Dimensions once washed and dried are 58" wide by 74" long.

Monday, July 28, 2025

Quilt Rehab

I am not writing about trying to recover from an addiction to quilting, but about restoring, rehabilitating, salvaging, or even simply repairing old quilts.  I have spent a third of my life sleeping under cotton quilts.  Most of them have been made by my grandmother, or obtained, often through circuitous routes, by my mother.  My mother didn't quilt, but she had fond memories of her mother quilting.  She valued quilts, she wanted them, she just didn't want to pay for them.  I may have been influenced by her attitude, especially since I want to have a quilt or two available to me when I get sleepy.

That's easy to do, now that quilts abound for sale on line.  The world market (no not that one, the generic one) has responded to the demand for quilts.  They are, and I assume, have been available for quite some time at reasonable prices.  My problem is that I favor the quilts I grew up sleeping under--cotton, hand quilted, cotton filled (sometimes with cotton seeds still in them here and there).  Thus, with my preferences for pure cotton handmade quilts and my heritage of not paying for them (or at least not much), I have a couple of quilts that I am beginning to wear out.  They weren't much to begin with so I justify rehabbing them.

Meanwhile, I am learning to make quilts.  So far, I have learned that it is ferociously expensive to make a quilt if it involves purchasing the materials and assembling a quilt from them.  Not that I have a problem with the cost.  If it results in a wonderful quilt that will last for years, why not?  If it is enjoyable to select fabrics, why not?  However, there is a lot of sewing and handwork along that route.  Some of it can be hired, yes, all of it if you are willing to spend....that's right, I have that heritage to deal with.  Either I pay a fair price to a local quilter for a high quality handmade cotton quilt or I make it myself for maybe half the price.  However, my skills are not up to the level I would get if I purchased one.

That's why I decided to improve my skills by rehabbing two old quilts.  I bought them both at our local second hand sale.  The first one, purchased about seven years ago, was ripping at the seams between the smallest pieces.  Although I only paid $10 for it, this was not an imitation printed quilt look-alike.  It is machine pieced, with the smallest pieces a little over 2" square.  Even though this is not a printed patchwork fabric, it is definitely not an american made quilt.  I found a tag on it clearly labeling it as imported.  The tag was the standard commercial tag that's found on bedding. It is hand quilted, but not heavily.  Where the seams are not quilted down to the backing, they have split open.  The exposed seam allowances are fraying.

I sewed these frayed edges closed, whip stitching together the two edges together about 1/8" back from the frayed edge.  The fabric is loose enough to allow it to still fit together without too much stretching or stress on the new seam.  Although a ladder stitch would be less visible,  I am more concerned with durability than with looks on this old quilt.

Actually, the hand quilting, as sparse as it is and as large as the stitches are, is still smaller and more precise than I can currently manage.  It's quite daunting to imagine who might have quilted this in whatever country it was made in.  I hope I can quilt it as well.  With the end goal of improving my hand quilting and machine quilting chops, I have hand quilted the smaller pieces in the center of the quilt.  Prior to this, I machine quilted the small pieces around the edges, since they are easier to reach on a standard sewing machine.  

My whip stitched repairs are at the top of the foremost white square and at the bottom of the white square on the top right of this photo.   I have hand quilted the squares in the middle, finishing all of them after taking this photo, working up one side of the squares, turning the quilt, and completing the other side.  That method allowed me to continue from square to square without cutting my thread.

Supposedly, the quilting will hold the layers of the quilt together and prevent the seams from ripping apart.  Admittedly, the seams are ripping open because I am machine washing the quilt a couple of times a year.  I don't intend to stop doing that.  This quilt was on my bed for about 6 months every year.  I enjoyed it, even though it didn't quite match my room colors and it was to me, a bit garish.  Now that the colors have faded, it looks a little better.  More quilting should improve the looks as well as the durability.  Also, as I continue washing it, I will see if it holds together better.  If not, I will then assume that quilts need to be hand washed.  The prospect of hand washing a queen size quilt is really going to dampen my enthusiasm for making my own quilts.

With my disappointment in this old quilt weighing on my mind, I went second hand quilt shopping again.  The replacement has turned out to be a real score.  One of my mother's quilts was, I thought for years, I wedding ring quilt.  She won it in a raffle for $1.  It's a beautiful quilt made in the 1980's by a local church group, but it is not a wedding ring quilt.  It is a Dresden plate.  Both are circular designs, something I would never attempt at this stage.  However, once my quilting knowledge grew to the point that I could correctly identify the Dresden plate design, I became more disappointed.  I didn't have a wedding ring quilt.  

But now I do, for $5.  Not only that, it is the right shade of green to coordinate with my bedroom.

I was quite baffled as to why this quilt, which is king size, would be priced so low.  The first quilt was in pretty good shape when I purchased it for $10.  This second one looked nice, but once it was spread out,  the split seams became apparent.  It is fairly adequately quilted.  I think it is just an old quilt that was made with thin cotton fabrics.  I set to work right away sewing up the rips.  This time I used ladder stitch so the repairs don't show as much as my repairs in the first quilt.

I say that, but now I see a whip stitch repair in the second photo.  There's also a rip in the photo that I didn't see when I was repairing it. I'm sure there's more. I had better get to work on the replacement before this one wears out.

As a final note, in case you are reading this to learn about repairing old quilts, I have repaired a truly vintage quilt.  This one was a bow tie quilt that was quilted around 1950.  It had a couple of bites taken out of it all the way to the backing.  I suspect rat or maybe boisterous kid damage.  I gave it a gentle wash in the bulky cycle of my machine, hung it out to dry, and repaired the two holes by appliqueing a piece of coordinating fabric over them, first fluffing up the remaining batting to fill the hole.  I actually used a bit of an old sheet.  It was the right color and had the same faded and worn appearance as the rest of the quilt.  The descendant of the quilter was thrilled to receive it and couldn't even find the areas I repaired.  I am sorry I didn't take a photo of that one.

Wednesday, July 2, 2025

Big Quilts and a new little machine

I went to the sewing machine store, but I just couldn't justify to myself paying their prices.  Shame on me. I should support them, since they are local and locally owned.  However, I am pragmatic about the changing economy and think I should adapt to it to take advantage of the benefits.  I bought a machine from Amazon.  I wasn't overly impressed with the ones in the shop.  At least not enough to pay three times as much as one from Amazon.  

This is my new machine.  It is small and light enough to take to classes or meetings, should I decide to indulge in those activities.  This machine, a Janome JW8100, is a good one.  The price is right and I am fond of Janome sewing machines. It has the buttonhole foot for one-step buttonholes, a quilting table, a quarter inch foot and a hard cover.  Those are all the features I was seeking when I started thinking about getting a new machine.   It is different from other machines I have used in that the presser foot lifter is on the right side of the arm rather than the back.  This is probably a great benefit to right-handed users because they no longer have to reach their arm through the harp and behind the arm to raise the presser foot.  I am ambidextrous and have been using my left hand to raise the presser foot when sewing--up until now.  It has taken a week or two to stop myself from trying to snake my left hand around the back of the arm to the lever on the right hand side.  All the new Janomes I tried in the shop had the presser foot in this location.  One of the machines had a knee lift.  A knee lift seems to be highly regarded by quilters, so it seemed desirable.  I was not impressed.  The knee lift is a temporary action, raising the presser foot while it is pressed but dropping it back down when pressure on the knee lift is released.  The presser foot lifter lever is still needed to lift the foot and have it stay up.  One feature that my new machine does not have is the presser foot pressure adjustment.  A machine without one was a new concept to me.  How does that work? I asked the machine shop owner.  It just does, she said.

She was right.  It actually works pretty well and is one less thing to worry about.  I am using a hump jumper over the thick (really thick, like 6 to 8 layers of quilting cotton) seams in my quilt but not over the usual 3 or 4 layer seams.  This little machine sews right over them without hesitation, continuing on smoothly.  

After my visit to the sewing machine shop, I went to the quilt shop and bought a quilt pattern, my first.  I had planned to just buy fabric and pick a block I like to make the quilt, doing the math to work out block size.  However, I realized that it would be much easier to use a pattern that had fabric requirements on it. 

This pattern looks quite easy and has the simplicity that I prefer in a quilt.  Even though using fabric leftovers and remnants is satisfying, that approach is not likely to produce a quilt with an overall cohesive design.  Based on this pattern, the ladies at the quilt shop advised I buy a yard of each of the fabrics I had picked out.  They are all batiks, my favorite.  So much so that I have a basically unworn batik dress hanging in my closet.  Unfortunately, the stiff fabric that results from batik is not comfortable to wear. With the 4 yards of fabric I purchased, there's probably around 6 yards of fabric for the Rail Fence quilt.  Additionally,  the black remnant I purchased for my other quilt project might work better with this project, along with the leftovers of the black and gold fabric from my first quilt.  

This is such nice fabric and such a different quilt pattern for me that it should sit while I work on that other project.  It will give me more practice before I cut into this pretty batik.