I went to the sewing machine store, but I just couldn't justify to myself paying their prices. Shame on me. I should support them, since they are local and locally owned. However, I am pragmatic about the changing economy and think I should adapt to it to take advantage of the benefits. I bought a machine from Amazon. I wasn't overly impressed with the ones in the shop. At least not enough to pay three times as much as one from Amazon.

This is my new machine. It is small and light enough to take to classes or meetings, should I decide to indulge in those activities. This machine, a Janome JW8100, is a good one. The price is right and I am fond of Janome sewing machines. It has the buttonhole foot for one-step buttonholes, a quilting table, a quarter inch foot and a hard cover. Those are all the features I was seeking when I started thinking about getting a new machine. It is different from other machines I have used in that the presser foot lifter is on the right side of the arm rather than the back. This is probably a great benefit to right-handed users because they no longer have to reach their arm through the harp and behind the arm to raise the presser foot. I am ambidextrous and have been using my left hand to raise the presser foot when sewing--up until now. It has taken a week or two to stop myself from trying to snake my left hand around the back of the arm to the lever on the right hand side. All the new Janomes I tried in the shop had the presser foot in this location. One of the machines had a knee lift. A knee lift seems to be highly regarded by quilters, so it seemed desirable. I was not impressed. The knee lift is a temporary action, raising the presser foot while it is pressed but dropping it back down when pressure on the knee lift is released. The presser foot lifter lever is still needed to lift the foot and have it stay up. One feature that my new machine does not have is the presser foot pressure adjustment. A machine without one was a new concept to me. How does that work? I asked the machine shop owner. It just does, she said.
She was right. It actually works pretty well and is one less thing to worry about. I am using a hump jumper over the thick (really thick, like 6 to 8 layers of quilting cotton) seams in my quilt but not over the usual 3 or 4 layer seams. This little machine sews right over them without hesitation, continuing on smoothly.
After my visit to the sewing machine shop, I went to the quilt shop and bought a quilt pattern, my first. I had planned to just buy fabric and pick a block I like to make the quilt, doing the math to work out block size. However, I realized that it would be much easier to use a pattern that had fabric requirements on it.

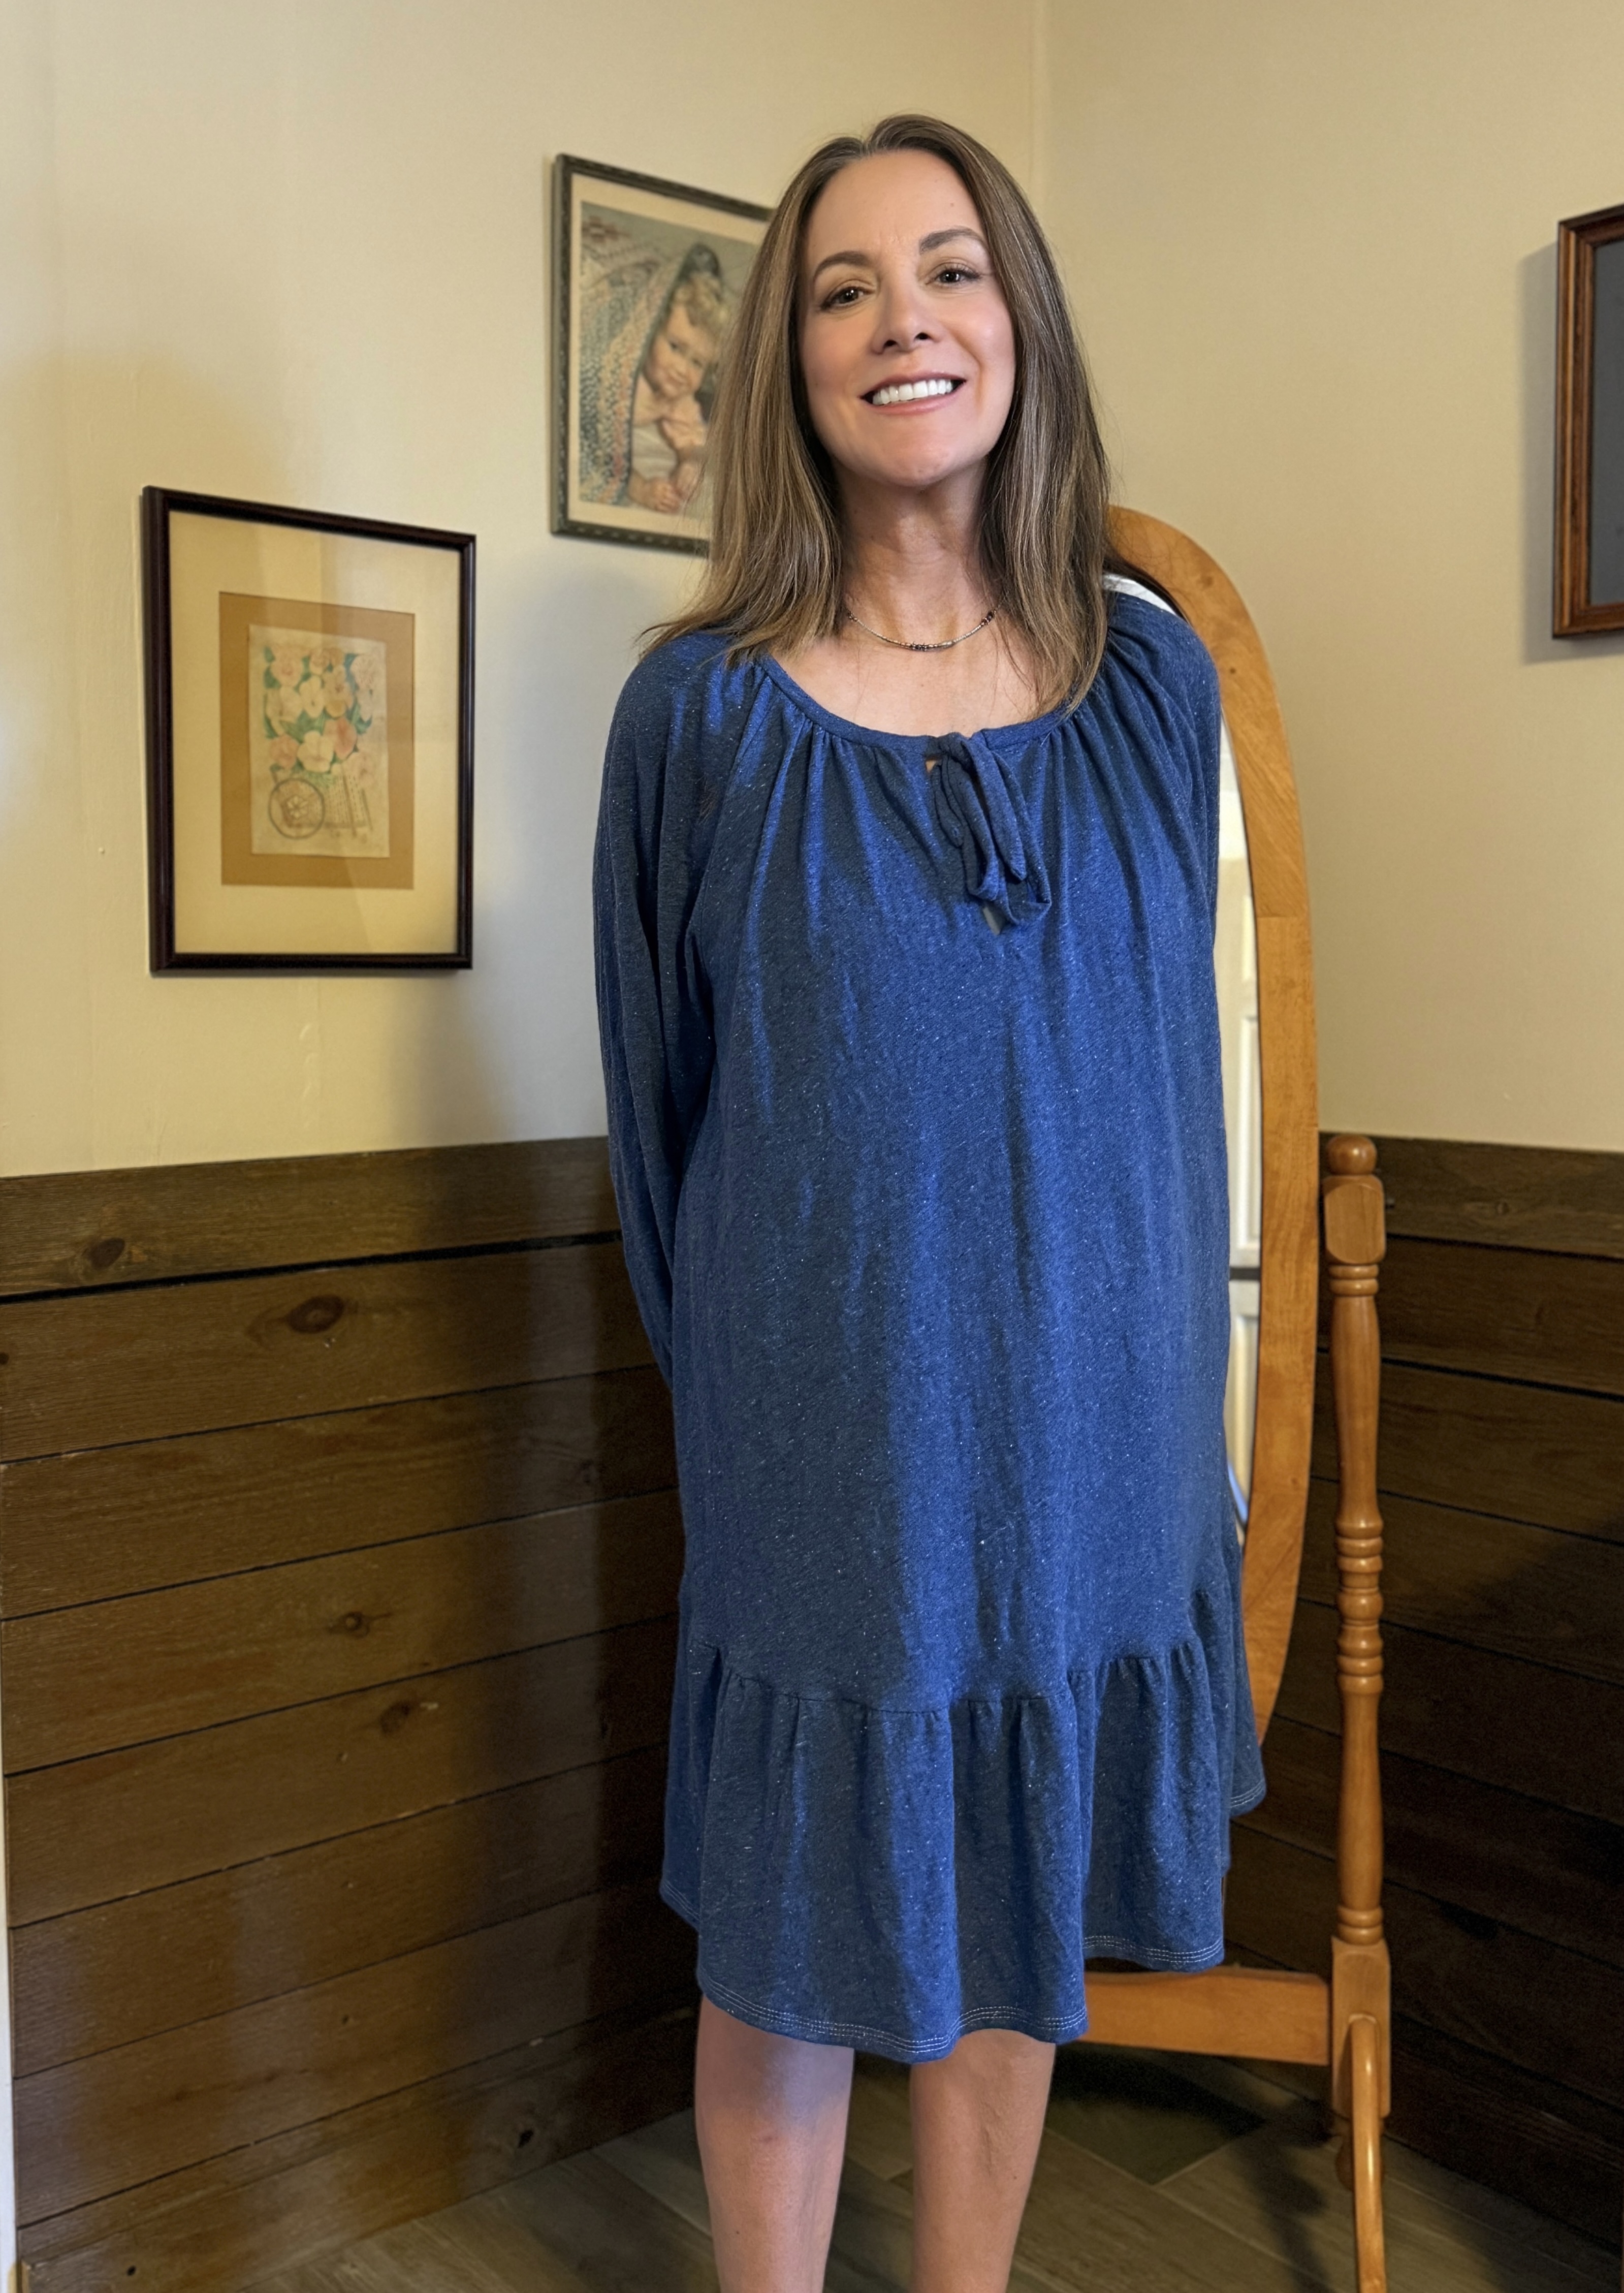
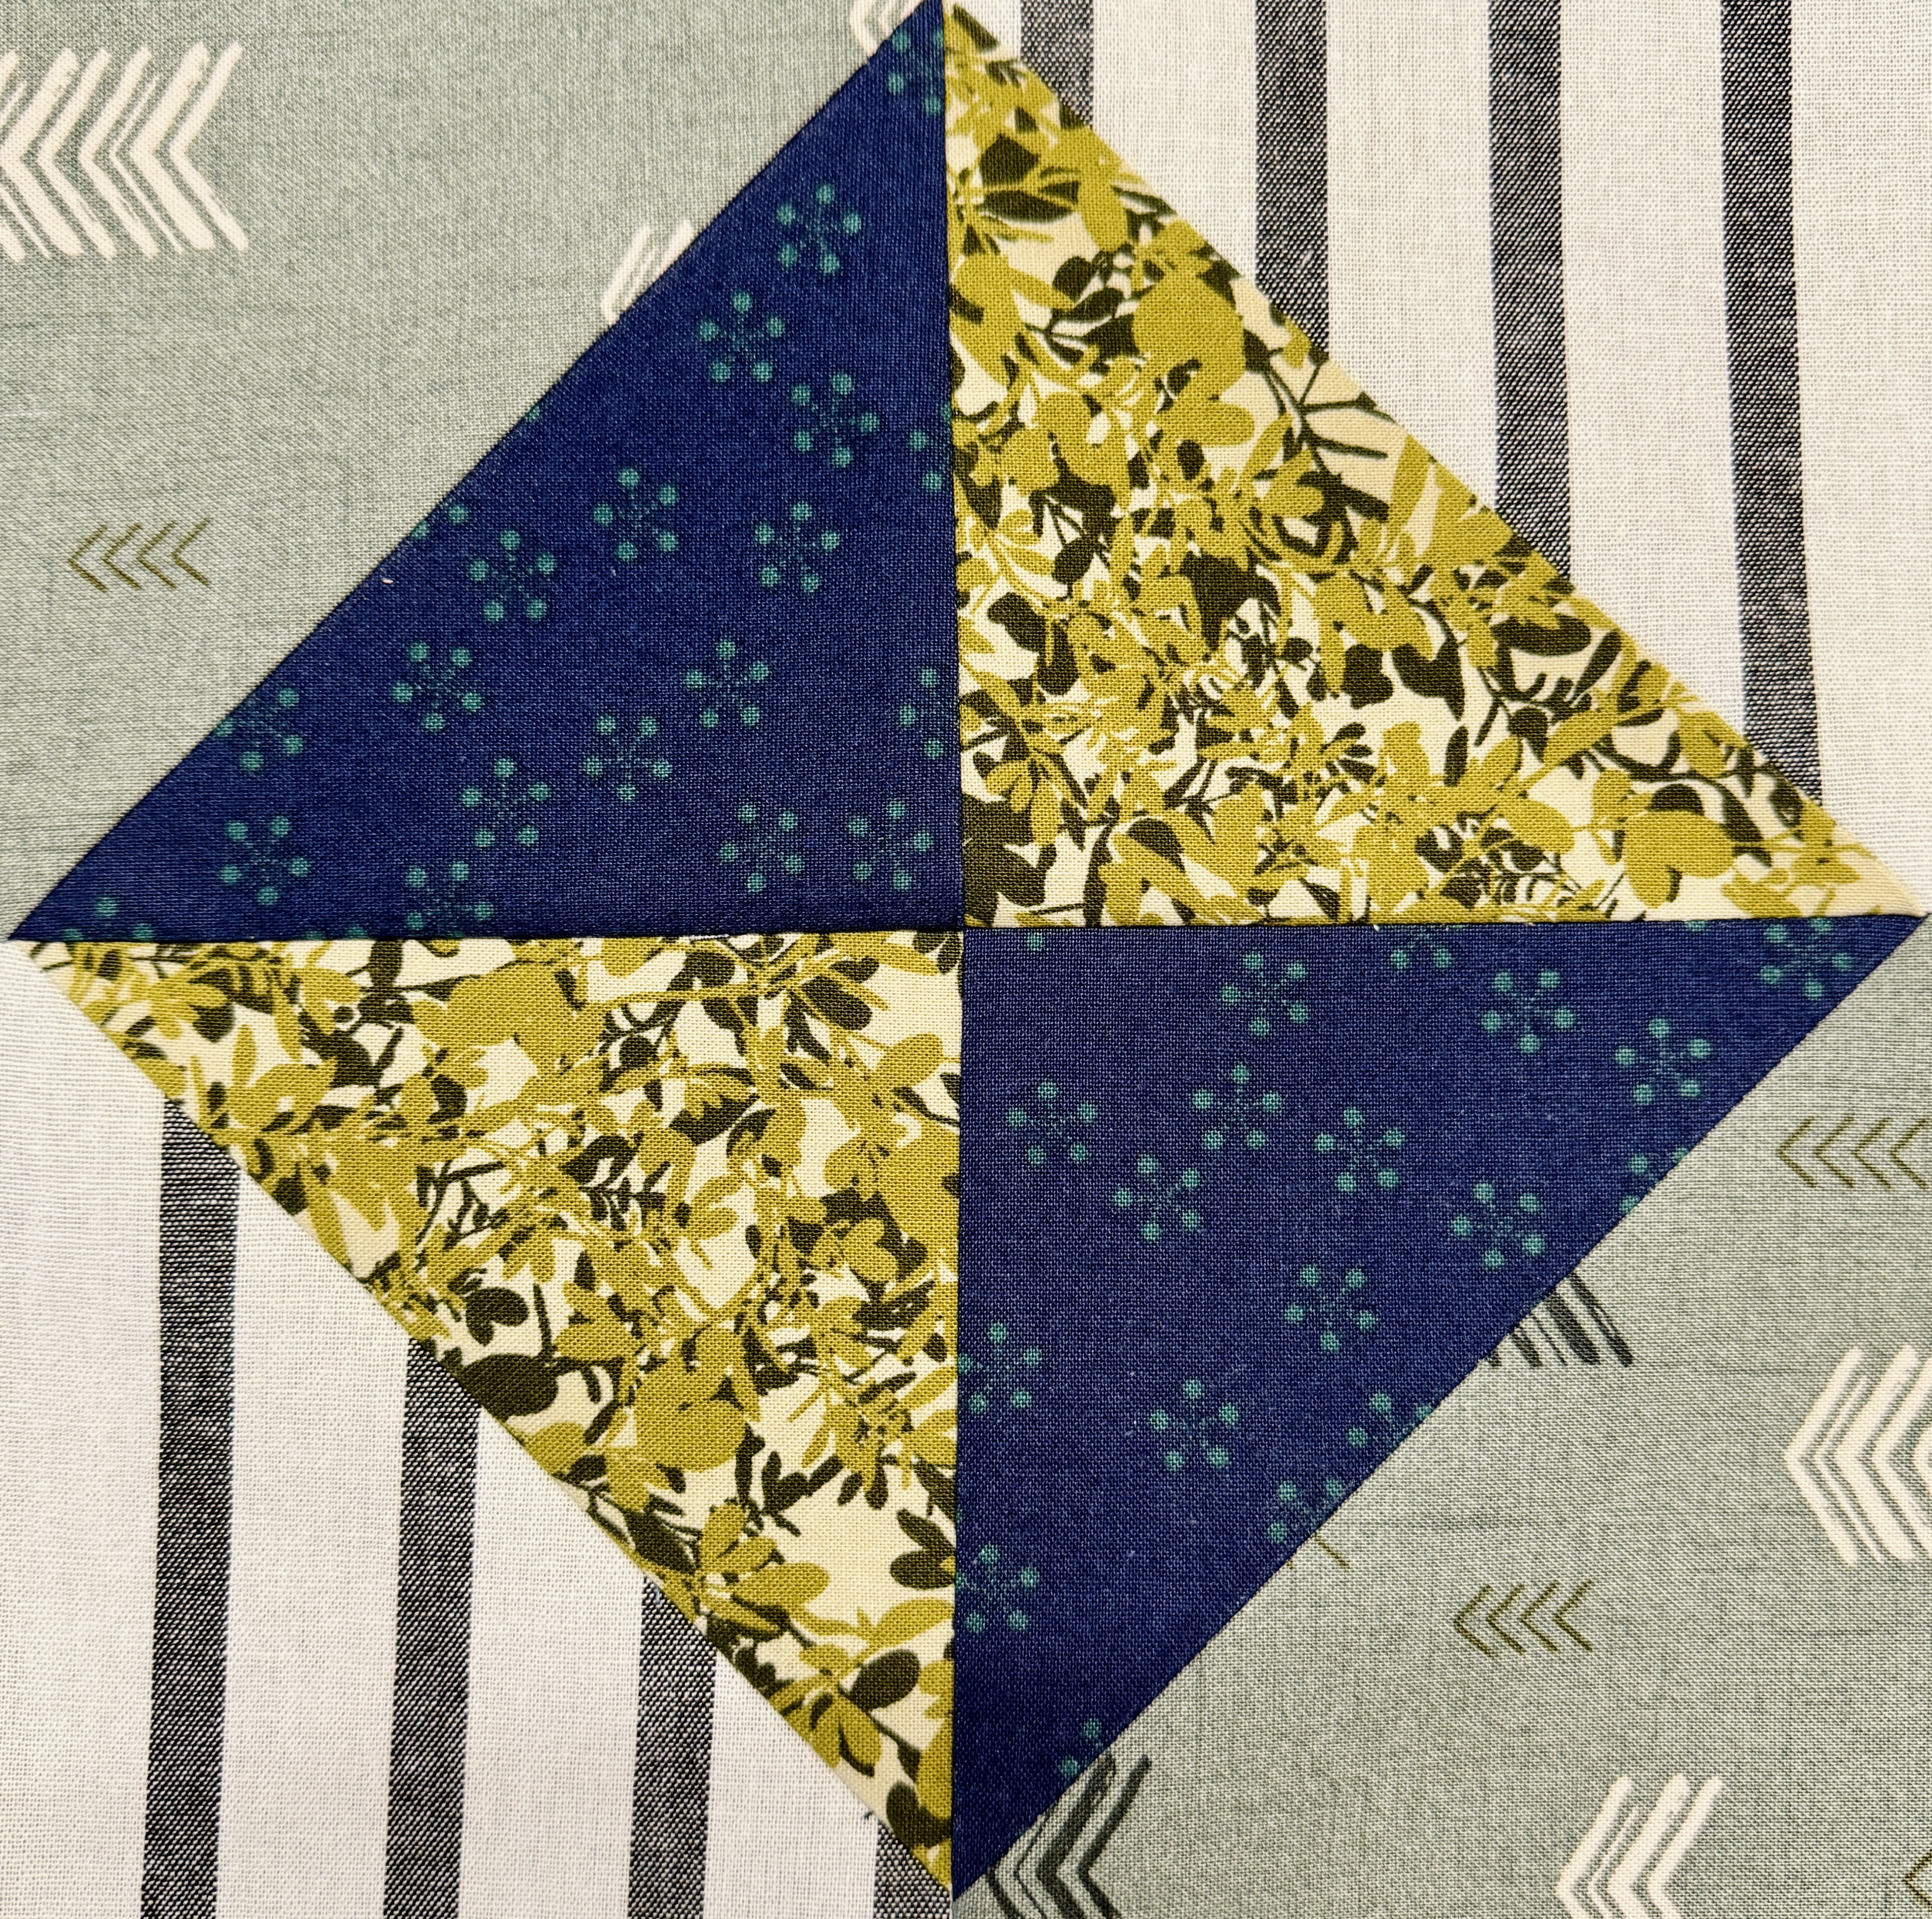
This pattern looks quite easy and has the simplicity that I prefer in a quilt. Even though using fabric leftovers and remnants is satisfying, that approach is not likely to produce a quilt with an overall cohesive design. Based on this pattern, the ladies at the quilt shop advised I buy a yard of each of the fabrics I had picked out. They are all batiks, my favorite. So much so that I have a basically unworn batik dress hanging in my closet. Unfortunately, the stiff fabric that results from batik is not comfortable to wear. With the 4 yards of fabric I purchased, there's probably around 6 yards of fabric for the Rail Fence quilt. Additionally, the black remnant I purchased for my other quilt project might work better with this project, along with the leftovers of the black and gold fabric from my first quilt.
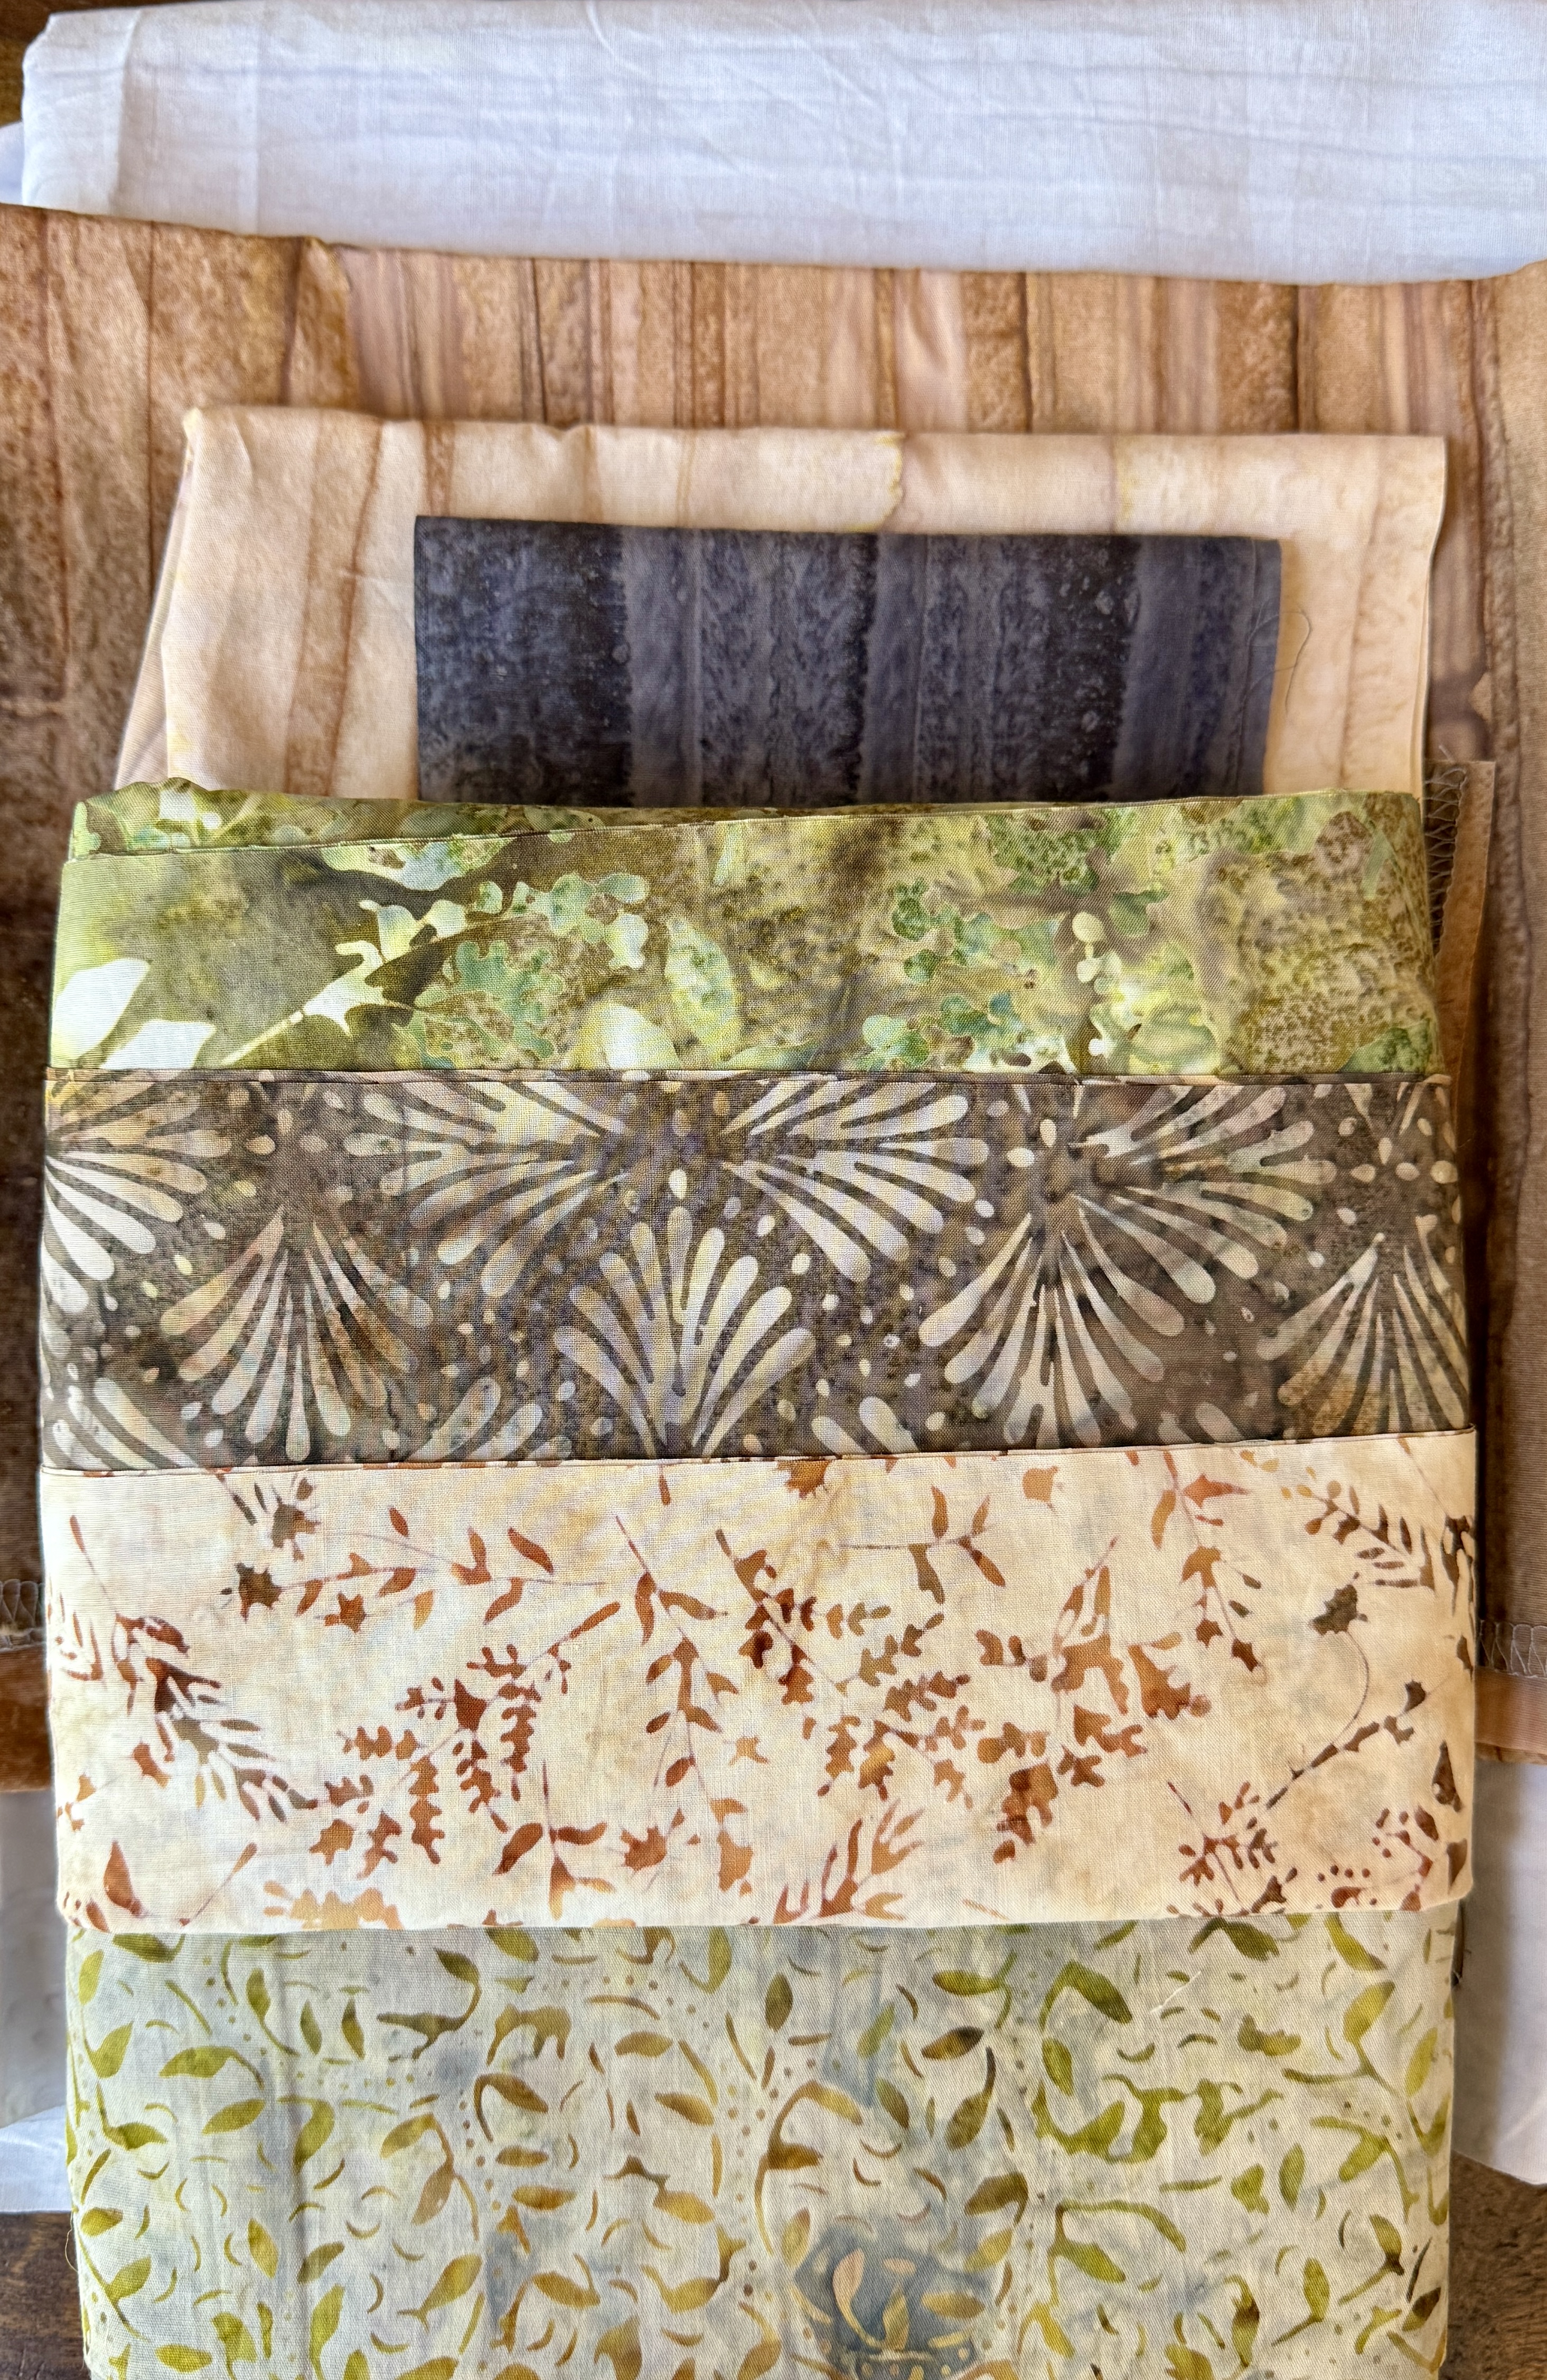
This is such nice fabric and such a different quilt pattern for me that it should sit while I work on that other project. It will give me more practice before I cut into this pretty batik.


.jpg)